
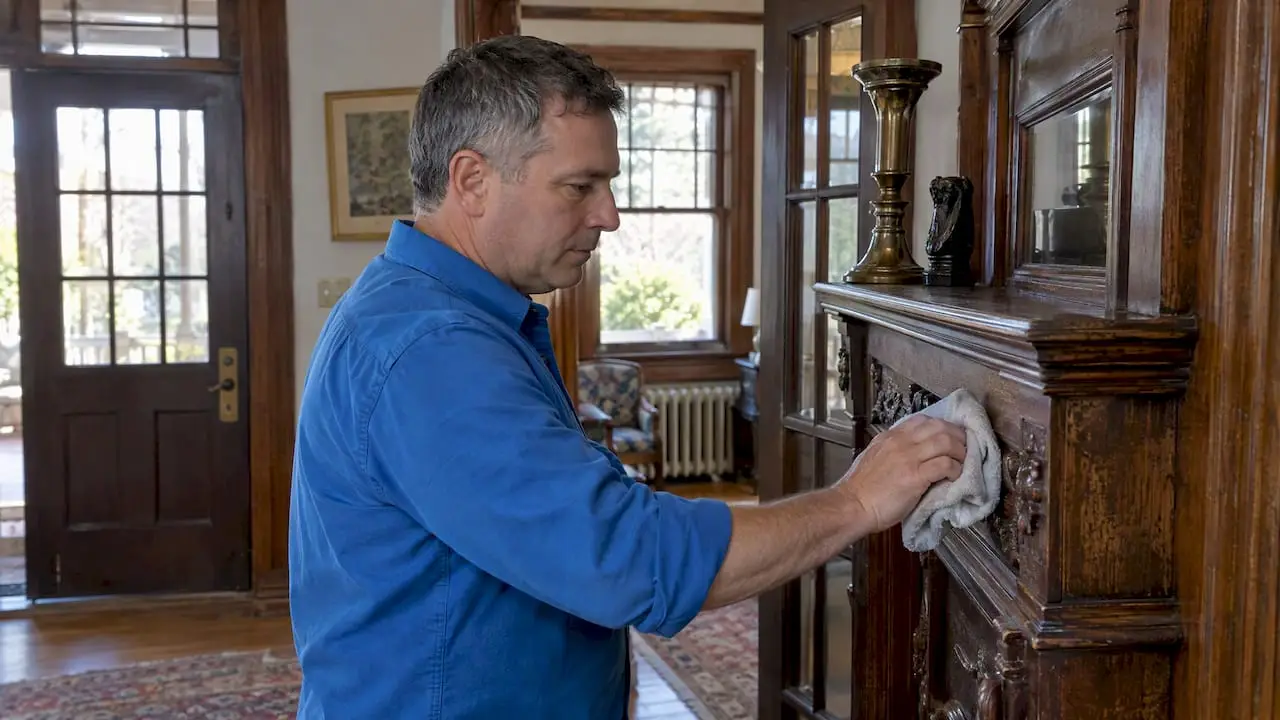
Cleaning an old house safely means choosing the gentlest method that works, testing it on a hidden spot first, ventilating as you go, and stopping the moment you hit a possible hazard. The EPA and the Smithsonian both back a “do no harm” approach to older materials. If a job involves lead paint, mold, or a surface you’re unsure about, it’s worth calling in help, whether that’s a certified contractor or a cleaning service experienced with historic homes.
TL;DR:
- For homes built before 1978, damp wipe windowsills and high contact surfaces weekly; hire an EPA certified contractor before disturbing painted surfaces.
- Clean small mold patches with detergent and water, wear gloves, and dry the area within 24–48 hours; larger infestations need remediation professionals.
- Leave suspected asbestos in insulation, flooring, or pipe wrapping untouched, and have a licensed abatement professional test and handle it.
- Keep photographs and textiles in climate controlled rooms rather than attics or basements, where seasonal temperature and humidity swings can damage them.
Table of Contents
- 1. Top Practices for Cleaning an Old House Without Damaging It
- 2. Room-by-Room Cleaning Tips for Historic Homes
- 3. Caring for Antiques, Textiles, Photographs, and Fine Finishes
- 4. Lead, Mold, and Asbestos: Safety Rules Before You Clean
- 5. Tools, Safe Homemade Cleaners, and What to Avoid
- 6. A Maintenance Schedule That Protects an Old House Over Time
- Why We Lean on Preservation-First Methods
- Book a Deep Clean That Respects Your Home’s Age
- FAQ
- Sources
1. Top Practices for Cleaning an Old House Without Damaging It
Old houses reward patience more than elbow grease. The materials inside them, plaster, old-growth wood, original glass, hand-forged hardware, were built to last, but they don’t respond well to modern cleaning habits built around speed and shine.
Start dry whenever possible. A soft vacuum attachment, or a HEPA-filtered vacuum where allergens or lead dust are a concern, removes loose grime without introducing moisture that can warp wood or lift old finishes. Save wet cleaning for when dry methods aren’t enough, and even then, use the least aggressive option: plain water first, then a drop of mild non-ionic soap if needed. Vinegar and baking soda have their place, but they’re acidic or abrasive enough to etch stone, dull metal, or strip wax finishes, so use them sparingly and never as a default.
Dusting technique matters more in a historic home than a new one. Lint-free cloths and natural-bristle brushes lift dust without scratching finishes or snagging on carved details. Skip feather dusters, which tend to just push dust around and can scatter it into cracks and joints where it’s harder to remove.
Before cleaning anything you’re unsure about, test in a small, hidden spot, like the back of a shelf or the underside of a windowsill, and wait to see how the surface reacts. The National Park Service recommends this step for historic exteriors, and it applies just as well indoors: use the gentlest method that gets the job done, and avoid abrasive pads, scouring powders, or high-pressure washing, all of which can strip patina that took decades to form.
When you do need stronger cleaners or you’re working in a tight space, open windows, run a fan, and wear gloves or a mask if dust or fumes are involved.
- Vacuum before you wipe, every time, to avoid grinding grit into soft surfaces.
- Choose water and mild soap over specialty cleaners whenever they’ll do the job.
- Test any new product on an inconspicuous area before using it broadly.
- Ventilate the room and protect your hands and lungs during heavier cleaning sessions.
Pro Tip: Keep a small notebook of what you’ve tested on which surfaces so you’re not re-testing the same windowsill every spring.
2. Room-by-Room Cleaning Tips for Historic Homes
Different rooms in an old house carry different risks, so it helps to treat each one on its own terms rather than running the same routine through the whole place.
- Kitchen cabinetry and vintage hardware. Wipe painted or wood cabinets with a barely damp cloth and mild soap, and avoid soaking hardware; instead, remove it if possible and clean separately with a soft brush. For grease buildup, a little warm water and dish soap on a cloth usually cuts through it without the need for harsh degreasers that can dull old finishes.
- Bathrooms. Moisture is the enemy here, so run the fan during and after showers, wipe down tile and grout regularly to prevent buildup, and check caulking for gaps that let water into old plaster walls. Good ventilation does more to protect an old bathroom than any cleaner.
- Wood floors. Vacuum with a bare-floor setting or soft brush attachment rather than a beater bar, and damp-mop instead of soaking. Skip oil soaps and wax-based products that build up residue over time and eventually require stripping, which is far harder on old wood than routine light cleaning.
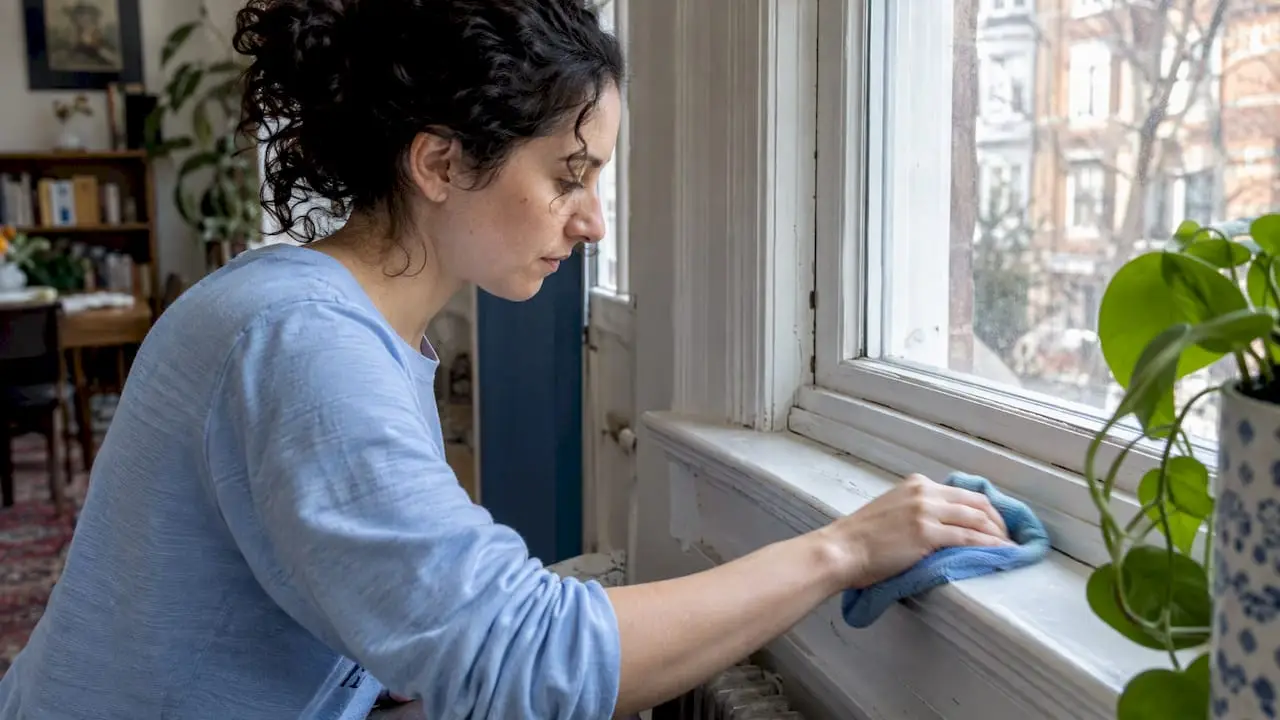
- Windows and glazing. Clean glass with water and a few drops of vinegar, applied with a soft cloth rather than sprayed directly, which can seep into old glazing putty. While you’re there, inspect sills for peeling paint, since window sills in homes built before 1978 are a common spot for lead dust to accumulate.
- Basements and attics. Inspect before you clean: look for moisture, pests, or signs of deterioration first. Dry-clean with a vacuum before introducing any water, and avoid storing valuables, textiles, or photographs in these spaces, since temperature swings and humidity cause more damage than dust ever would.
3. Caring for Antiques, Textiles, Photographs, and Fine Finishes
Family heirlooms need a lighter touch than almost anything else in the house. Dust with a soft, lint-free cloth or a gentle burst of directed air rather than wiping hard, and keep solvents and household cleaners away from delicate fabrics, paper, or photographic materials entirely.
Stable conditions matter more than frequent cleaning. The Smithsonian notes that keeping temperature and humidity steady, and handling objects as little as possible, does more to preserve them than any cleaning routine. That means textiles and photographs belong in a climate-controlled room, not an attic or basement where conditions swing with the seasons. For framed prints and heirloom textiles specifically, guidance from conservators at Noirci Studio echoes the same principle: minimal handling and stable display conditions protect pieces longer than any treatment.
Wood finishes on antique furniture need restraint, too. A soft cloth and occasional dusting usually beat polish, which builds up residue over the years and can cloud or discolor old finishes. Always test a small area first, and never drag a vacuum across inlaid or veneered wood; lift and reposition it instead, using the lightest suction setting.
- Dust photographs and textiles with soft tools only, never liquid cleaners.
- Keep heirlooms in stable, climate-controlled rooms rather than attics or basements.
- Avoid polishing wood antiques often; buildup is harder to reverse than light dust.
Pro Tip: If a finish feels sticky, a surface is flaking, or a fabric seems brittle, stop and call a conservator rather than risk a DIY fix.
4. Lead, Mold, and Asbestos: Safety Rules Before You Clean
Older homes carry hazards that newer construction simply doesn’t, and knowing where the lines are matters more than any cleaning technique.
If your home was built before 1978, the EPA advises assuming it may contain lead-based paint. Damp-wiping windowsills and other high-contact surfaces weekly, and cleaning up paint chips immediately, reduces lead-dust exposure in daily life. Our guide to cleaning lead dust safely walks through the damp-wipe method and how to confirm it’s working. But routine wiping is different from renovation: if a project will disturb painted surfaces, or you notice widespread flaking or dust, the EPA’s RRP program requires hiring a certified contractor trained in lead-safe work practices.
Mold is a separate issue with its own protocol. The CDC recommends cleaning small areas with detergent and water while wearing gloves and, where needed, a mask, and drying the area completely within 24 to 48 hours to prevent regrowth. Larger infestations are a job for remediation professionals, not a weekend project. Our bathroom mold prevention guide covers quick fixes that align with that 24 to 48 hour drying window.
Mold cleanup within 24 to 48 hours of water exposure significantly lowers the chance of regrowth, according to the CDC, which is why fast drying matters as much as the cleaning product you choose.
Asbestos is the one material you should never clean or disturb yourself. If you suspect insulation, old flooring, or pipe wrapping contains asbestos, leave it alone and bring in a licensed abatement professional to test and handle it.
- Damp-wipe sills and high-contact surfaces weekly in any pre-1978 home.
- Hire an EPA-certified contractor for renovation work that disturbs old paint.
- Dry water-damaged areas within 24 to 48 hours to prevent mold growth.
- Never sand, scrape, or vacuum suspected asbestos materials yourself.
One more note: if you’re sealing up drafts or improving insulation in an old house, pair that work with proper ventilation planning, since tightening a home without addressing airflow can trap moisture and indoor pollutants that make these hazards worse.
5. Tools, Safe Homemade Cleaners, and What to Avoid
The right tools make gentle cleaning easier, not harder. Keep microfiber cloths, natural-bristle brushes, soft vacuum attachments, small artist brushes for carved detail, and a wooden scraper for stubborn residue on hand. For homemade solutions, a vinegar-and-water mix works well on glass, a baking soda paste can lift light stains, and a few drops of mild non-ionic soap in water handles most everyday grime.
Some products do real damage, though. Bleach breaks down masonry and strips natural finishes, ammonia tarnishes brass and bronze, and high-pressure washing or metal scrapers can gouge soft materials beyond repair. Skip all of them on historic surfaces.
- Keep microfiber, natural-bristle brushes, and soft vacuum attachments as your core toolkit.
- Mix vinegar-water for glass and a baking soda paste for light stains, used sparingly.
- Avoid bleach, ammonia, pressure washing, and metal scrapers on old materials entirely.
- Label homemade cleaning mixes and spot-test every new combination before full use.
6. A Maintenance Schedule That Protects an Old House Over Time
A steady routine prevents small problems from becoming expensive ones, and old houses respond especially well to consistency over intensity.
- Daily: A quick walk-through to catch spills or drips before they soak into wood or plaster.
- Weekly: Damp-wipe windowsills and high-touch surfaces, vacuum with a soft attachment, and glance for new chips or damp spots.
- Monthly: Check windows for drafts, clear gutters, and do a quick visual scan for pests.
- Seasonal and annual: Schedule a roof and chimney inspection, service the HVAC system, and bring in a professional inspection before any renovation that might disturb old paint or plaster.
Why We Lean on Preservation-First Methods
We built our cleaning approach around the same principle this article follows: the gentlest method that gets the job done protects a home’s character longer than anything abrasive. Some cleaning teams use low-residue, eco-friendly products and train on techniques suited to older finishes, not just modern ones.
For small, routine upkeep, the steps above work well on your own. For larger jobs, visible hazards, or when time is tight, bringing in a trained team is often the safer, more practical choice offered by some cleaning services.
— Local
Book a Deep Clean That Respects Your Home’s Age
If your old house needs more than a weekly wipe-down, we offer Standard Cleaning, Deep Cleaning, Move In Clean, and Move Out Clean, all built around eco-friendly products gentle enough for original finishes and vintage materials.

Large jobs, visible mold, or surfaces you’re unsure how to approach are exactly where a trained team earns its keep. You can book a cleaning with us whenever you’re ready for a careful, thorough clean that treats your home’s history with the respect it deserves.
This article is general information, not a substitute for advice from a qualified doctor. Consult a qualified healthcare professional about your own circumstances before acting on anything here.
FAQ
What is the 5-5-5 rule for cleaning?
The 5-5-5 rule is a decluttering approach where you find five items to throw away, five to donate, and five to put back in their proper place, usually applied to one room or area at a time. It’s a popular method for breaking organizing into manageable chunks rather than tackling a whole house at once.
What are some old-fashioned cleaning tips that still work?
Many traditional tips, like using vinegar and water on glass or a baking soda paste on light stains, still hold up well, but they need to be applied carefully on historic surfaces. The Family Handyman notes that these old-school methods remain useful as long as you test them first and avoid overusing acidic or abrasive ingredients on delicate materials.
What is grandma’s simple trick to eliminate dust?
A common old trick is wiping surfaces with a slightly damp microfiber or lint-free cloth instead of a dry one, since a dry cloth or feather duster tends to scatter dust rather than collect it. Pairing that with a soft vacuum attachment for soft furnishings helps catch what the cloth misses.
What is the 6/10 rule for cleaning houses?
There’s no universally recognized “6/10 rule” tied to an authoritative cleaning or preservation standard, so definitions vary depending on the source.
When should I hire a professional instead of cleaning an old house myself?
Call in a professional when a job involves suspected lead paint disturbance, visible mold beyond a small patch, or any material you suspect contains asbestos, since these require certified handling under EPA and CDC guidelines. A professional cleaning service is also worth considering for large, time-consuming deep cleans where gentle, correct technique matters more than speed.
Sources
- Reduce the risk of lead exposure from household dust | US EPA
- About | Anacostia Community Museum / Smithsonian (conservation guidance)
- Preservation Brief 47: Maintaining the Exteriors of Small and Medium Size Historic Buildings | NPS