
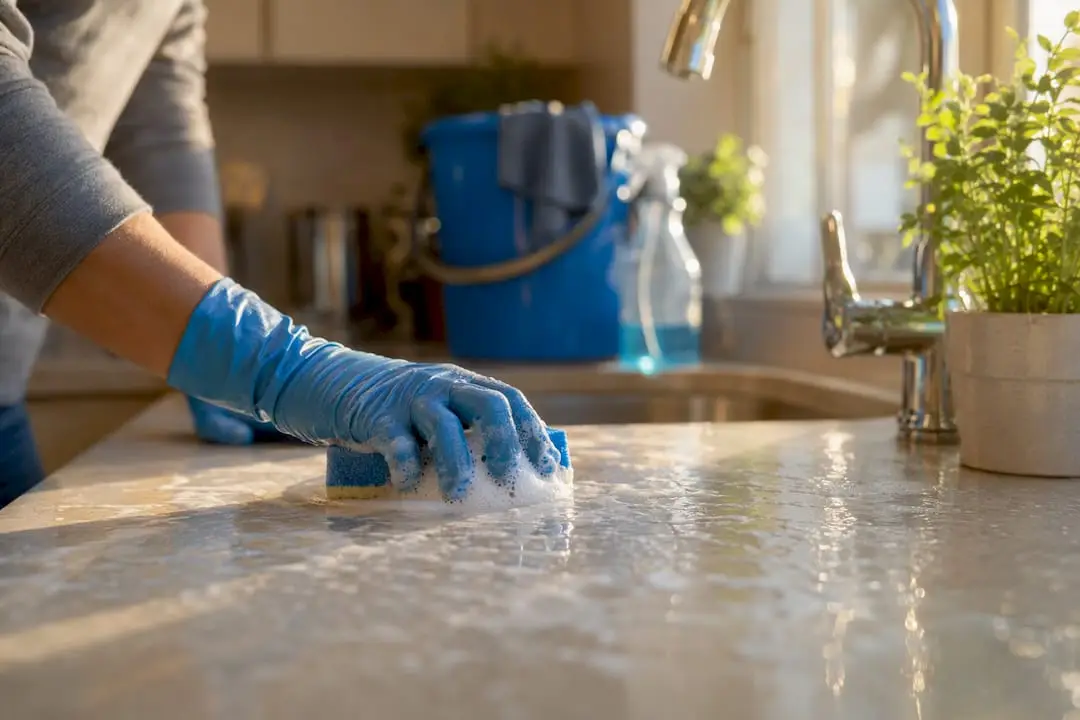
A kitchen deep cleaning checklist is a room-by-room plan that takes you from ceiling to floor, appliance by appliance, until every surface that touches food or hands is actually clean, not just tidy. Most homeowners can finish the full version in a few hours, or split it into shorter blocks across two or three days if a single session is not realistic. A printable one-page version and a split-session variant are available further down, so you can print, check boxes, and reduce the mental load of remembering what is left.
Doing this right matters for more than appearances. The CDC’s food safety guidance ties a clean kitchen directly to lower foodborne-illness risk, and a proper deep clean also cuts down on pests and helps appliances like your fridge and dishwasher run more efficiently and last longer.
Here is what you get out of this checklist:
- A full top-to-bottom task list for every zone, with time estimates built in.
- Food-safety steps aligned with CDC and USDA guidance, explained in plain terms.
- A maintenance schedule so you are not repeating this whole process every month.
Key Takeaways
A kitchen deep clean works best when it follows a top-to-bottom sequence, gives grease and grime dwell time before scrubbing, and separates cleaning from sanitizing on every food-contact surface.
| Point | Details |
|---|---|
| Follow the top-down order | Clean ceilings and cabinet tops before appliances, and finish with floors last. |
| Use soak time strategically | Start oven racks and fridge shelves soaking first, then handle other zones while they sit. |
| Clean before you sanitize | Remove grease and debris first, since sanitizers cannot work through organic matter. |
| Set a maintenance rhythm | Daily wiping and weekly mopping cut down how often a full deep clean is needed. |
| Book a pro for heavy jobs | Purehomescleaning handles large kitchens and heavy grease buildup with eco-friendly products and trained staff. |
Table of Contents
- Supplies, Safety, and Pre-Clean Prep
- What Order Should You Clean Your Kitchen In?
- What Does a Full Kitchen Deep Clean Include?
- What’s the Difference Between Cleaning and Sanitizing?
- Which Printable Checklist Version Should You Use?
- How Often Should You Deep Clean Your Kitchen?
- How Do You Handle Stubborn Grease and Grime?
- What a Cleaning Professional Sees That Homeowners Miss
- Let a Professional Handle the Parts You Keep Postponing
- Sources
Supplies, Safety, and Pre-Clean Prep
Gather everything before you start. Stopping mid-task to hunt for a scrub brush wastes more time than the actual scrubbing does. Your supply list should include rubber gloves, microfiber cloths, a scrub brush, an all-purpose cleaner, a degreaser, baking soda, white vinegar, an oven cleaner, disposable wipes, trash bags, a bucket, a mop, and a vacuum with a brush attachment. If you need to restock, Purehomescleaning’s shop page lists the tools used on most professional visits.
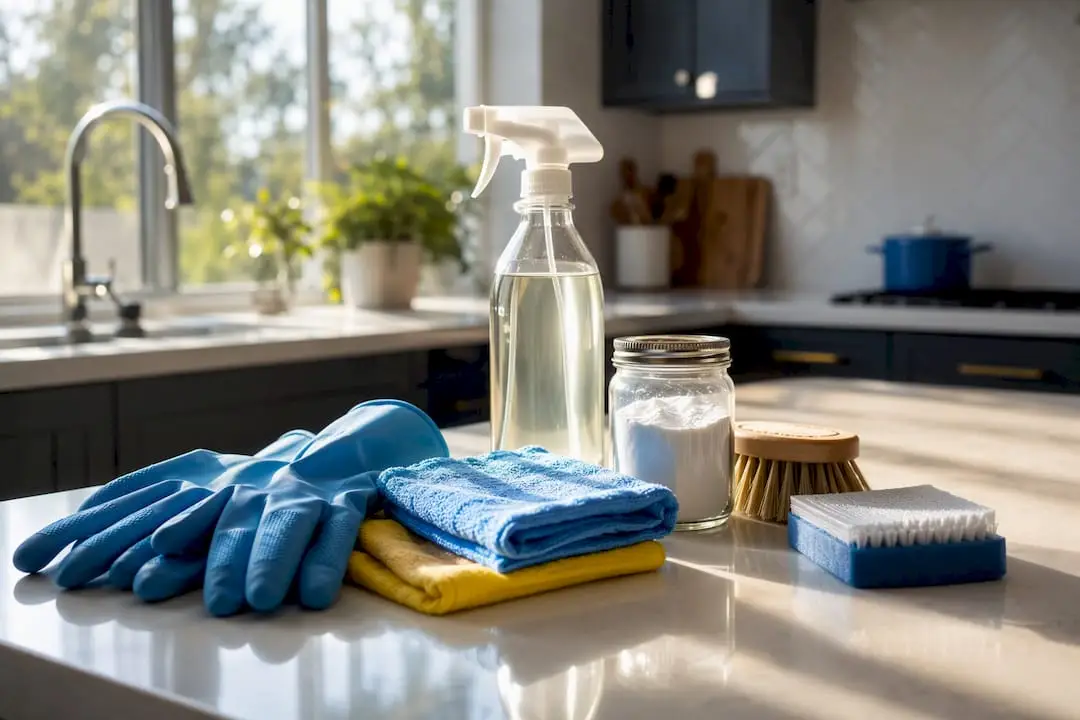
Not every cleaner belongs on every surface. Skip vinegar and other acidic cleaners on natural stone counters, and avoid abrasive pads on stainless steel or nonstick cookware. Bona’s deep-clean guidance recommends gentler options like diluted vinegar or baking soda paste for most everyday grime, saving stronger chemicals for baked-on buildup. Test any new product in a small, hidden spot first.
Before you touch a sponge, clear your counters, empty the sink, pull perishable food out of the fridge, and set up a staging area, like a towel-lined section of counter, for shelves and racks you will pull out to soak.
Pro Tip: Open a window or turn on your range hood before using degreasers or oven cleaner. Fumes build up fast in a closed kitchen, and gloves protect your hands from cleaners strong enough to cut grease.
What Order Should You Clean Your Kitchen In?
Work high to low and inside to outside. Start with ceiling fixtures and cabinet tops, move to cabinets and drawers, then tackle appliance interiors before countertops, sinks, and finally floors. This order exists for a practical reason: dust and debris from higher surfaces fall onto lower ones, so cleaning floors first just means cleaning them twice.
- Wipe light fixtures, vents, and the tops of cabinets.
- Empty and wipe cabinets and drawers.
- Pull oven racks, hood filters, and fridge shelves to soak while you work elsewhere.
- Clean appliance interiors (oven, microwave, dishwasher).
- Scrub countertops, backsplash, and sink.
- Finish with floors and baseboards.
That soak-first move in step three is the single biggest time-saver in this whole process. Martha Stewart’s kitchen deep-clean guide recommends disassembling removable parts early so they get dwell time while you handle other zones, instead of standing over a sink scrubbing baked-on grease for twenty minutes straight.
| Kitchen size | Estimated deep-clean time |
|---|---|
| Small (galley or apartment) | 2.5 to 3.5 hours |
| Medium (standard single-family) | 4 to 5 hours |
| Large (open-concept or double-oven) | 5.5 to 7 hours |
Pro Tip: Break the work into blocks: a 20-minute refresh for counters and sink, 45 to 90 minutes per major appliance, and 60 to 120 minutes for a full zone like cabinets. You can knock out one block on a weeknight and finish the rest on Saturday morning.
What Does a Full Kitchen Deep Clean Include?
This is the actual room-by-room list. Check off each task as you go, whether you print this section or work from your phone.
Pantry (20 to 30 minutes)
- Pull everything out and toss expired items.
- Wipe down shelves before restocking.
- Sweep or vacuum the floor.
- Add fresh shelf liners and check corners for signs of pests.
Refrigerator and freezer (45 to 60 minutes)
- Remove all food, checking dates as you go.
- Wash removable shelves, bins, and drawers in warm soapy water.
- Wipe down door seals, where mold and crumbs hide.
- Vacuum the condenser coils with a brush attachment periodically to prevent motor strain, and you should unplug or switch off the fridge first, as noted by Martha Stewart’s guide.
- Replace shelf liners before restocking.
Oven, stove, and hood (60 to 90 minutes, plus soak time)
- Remove racks, burner grates, and knobs.
- Soak racks in a bathtub or large bin with hot water and dishwasher tablets while you clean elsewhere.
- Apply oven cleaner and let it dwell 15 to 30 minutes before scrubbing. Scrubbing too soon just scratches the surface without lifting the grease.
- Remove and degrease the vent hood filter.
Microwave (10 minutes)
- Heat a bowl of water with lemon or vinegar for two to three minutes to loosen grime, then wipe the interior clean.
- Wash the turntable, and clean vents and the touchpad.
Dishwasher and disposal (20 minutes)
- Remove and rinse the filter and spray arms.
- Run an empty cycle with a cup of white vinegar.
- For the disposal, run baking soda followed by vinegar, then flush with cold water.
- Wipe the door gasket, where grime collects unseen.
Cabinets and drawers (45 to 60 minutes)
- Empty, vacuum crumbs, and wipe interiors and exteriors.
- Clean hardware separately with a toothbrush.
- Use a damp cloth on painted or laminate fronts; avoid soaking wood cabinetry, which can warp or dull the finish.
Countertops, backsplash, and sink (30 minutes)
- Use a cleaner matched to your countertop material and scrub tile grout lines with a stiff brush.
- Scrub the sink with a baking soda paste, then sanitize.
- Clean the faucet aerator and disposal splash guard, both common odor sources.
Small appliances (20 minutes)
- Descale the coffee maker with a vinegar-water cycle.
- Empty toaster crumb trays and wipe blender blades separately from the base.
- Move each appliance to wipe underneath and behind it.
Garbage and recycling bins (15 minutes)
- Empty completely and wash with hot, soapy water.
- Deodorize with baking soda, and check the surrounding area for signs of pests before replacing the liner.
Floors, baseboards, and light fixtures (30 to 45 minutes)
- Sweep and vacuum before mopping with a cleaner appropriate to your floor type.
- Wipe baseboards and dust light fixtures last, since debris from earlier steps settles here.
A properly sequenced deep clean like this one directly supports the outcomes the Food Smart Colorado kitchen cleanse framework points to: lower illness risk, fewer pest problems, and appliances that run better because grease and buildup are not fighting their motors and seals.
What’s the Difference Between Cleaning and Sanitizing?
Cleaning removes visible dirt and food debris. Sanitizing kills bacteria left behind. Skip the first step and the second one barely works, because grease and food particles physically shield bacteria from whatever sanitizer you spray on top.
Sanitizing is only effective after organic matter has been removed. Grease and food residue can block a sanitizer from reaching bacteria on a surface, which is why food-safety guidance treats “clean then sanitize” as a strict sequence, not two interchangeable options.
That guidance comes from the USDA’s clean-then-sanitize recommendation, and it applies most on cutting boards, countertops, and your sink, the three surfaces raw food touches most often. Wash with soap and hot water first, apply a sanitizing solution, then let it air dry rather than wiping it with a towel, which can reintroduce bacteria.
A few numbers worth keeping on your fridge:
- Wash hands thoroughly, and refrigerate leftovers promptly (within a couple of hours), especially sooner if your kitchen is very warm (above 90°F), per Foodsafety.
- Keep your refrigerator cold and your freezer at proper freezing temperatures, per the CDC.
- Replace or sanitize sponges regularly. USDA guidance on kitchen sponges notes they harbor bacteria faster than almost anything else in your kitchen.
Which Printable Checklist Version Should You Use?
Pick the format that matches how you actually clean. A full one-page checklist covers every task in this guide in checkbox form, ready to print and tape inside a cabinet door. A split-session version breaks the same list across two or three days by zone, useful if you are cleaning around a work schedule. A quick 20-minute version covers just the highest-impact tasks (counters, stove, sink) for a fast refresh between deep cleans.
- Laminate your printed checklist or slide it into a plastic sleeve, and use a dry-erase marker so you can reuse it every season.
- Assign zones to family members if you are splitting a session across two or three days.
- Store the checklist in a kitchen drawer, not a folder you will forget about.
Pro Tip: A short sample of the one-page version reads: “☐ Wipe cabinet tops ☐ Clean oven interior ☐ Vacuum fridge coils ☐ Sanitize sink ☐ Mop floors.” Keep entries this short so the printed version stays scannable.
How Often Should You Deep Clean Your Kitchen?
A good maintenance rhythm means you are never facing the full four-to-six-hour version unprepared. Structuring tasks by frequency, an approach also used in the GeneChecklist kitchen cleaning protocol, keeps grease and grime from ever reaching the point where they need a degreaser and thirty minutes of dwell time.
| Frequency | Tasks |
|---|---|
| Daily | Wipe counters, wash dishes, spot-clean the stovetop, empty the sink. |
| Weekly | Mop floors, wipe cabinet fronts, clean inside the microwave, wash the trash bin. |
| Monthly | Clean inside the fridge, run a vinegar cycle in the dishwasher, deep-clean the sink and disposal. |
| Quarterly | Degrease the vent hood, deep-clean the oven interior, vacuum fridge coils, check pantry for pests. |

Keep a printed copy of Purehomescleaning’s recurring cleaning options nearby if you would rather outsource the weekly and monthly rows and reserve your own time for quarterly deep cleans.
How Do You Handle Stubborn Grease and Grime?
Grease responds to time more than force. Apply a degreaser or baking soda paste, then walk away for 15 to 30 minutes before scrubbing. Scrubbing immediately just scratches surfaces without actually breaking down the buildup chemically.
- For baked-on oven racks, soak them in a tub of hot water with a few dishwasher tablets overnight, then wipe clean the next morning.
- For dingy tile grout, apply a baking soda and hydrogen peroxide paste, let it sit, then scrub with an old toothbrush. Call a grout specialist if discoloration persists after two attempts.
- Never use acidic cleaners like vinegar on natural stone counters, and skip abrasive pads on stainless steel, which scratch permanently.
- Check your appliance manual before using any aggressive cleaner. Manufacturer warnings on self-cleaning ovens and certain fridge finishes exist for a reason, and ignoring them can void a warranty.
Pro Tip: If a stain has not budged after two soak-and-scrub attempts, it is a sign to switch methods, not to scrub harder.
What a Cleaning Professional Sees That Homeowners Miss
Most homeowners underestimate two things: how long grease dwell time actually takes, and how much a range hood filter affects the whole kitchen’s smell. Heavy grease buildup, large kitchens, or cleaning after an illness are the three situations where booking a professional deep clean, like the ones detailed on Purehomescleaning’s services page, saves real time and gets a more thorough result than a solo weekend effort.
Let a Professional Handle the Parts You Keep Postponing
If oven racks and grout lines are the two tasks that keep sliding to next weekend, that is exactly where a professional deep clean earns its cost back in time alone. Purehomescleaning’s deep cleaning service uses eco-friendly products safe for stone counters and finished wood, trained staff who know dwell times without guessing, and flexible scheduling built around Washington DC, Virginia, and Maryland households.

You get the checklist done without spending your Saturday soaking oven racks. Browse the full range of cleaning services, see real results in the before-and-after gallery, and book your deep clean online in a few minutes.
Sources
- Foodsafety
- Preventing Food Poisoning | CDC
- Clean, then sanitize: One-two punch to stop foodborne illness (USDA blog)
- Kitchen Cleanse Checklist – Food Smart Colorado
- How to Deep Clean Your Kitchen | Martha Stewart
FAQ
What does a kitchen deep clean consist of?
It covers every surface and appliance, not just the visible ones: pantry, fridge, oven, dishwasher, cabinets, countertops, sink, small appliances, trash bins, and floors, cleaned top to bottom.
How long does a full kitchen deep clean take?
A small kitchen takes about 2.5 to 3.5 hours, a medium kitchen 4 to 5 hours, and a large kitchen 5.5 to 7 hours, or you can split the work into 20 to 60 minute blocks.
What is the 20-minute rule in cleaning?
It refers to a quick-refresh session, roughly 20 minutes spent on the highest-impact tasks like counters, the stovetop, and the sink, used between full deep cleans to keep grime from building up.
What should be included in a deep cleaning checklist?
It should include supplies and prep steps, a top-to-bottom task order with time estimates, appliance-specific instructions, food-safety steps for clean-contact surfaces, and a maintenance schedule to reduce how often you need to repeat it.
When should I hire a professional instead of doing it myself?
Heavy grease buildup, a large kitchen, or cleaning after an illness are strong signals to book a professional deep clean rather than tackle it solo, since these situations demand more time and stronger equipment than most home setups have.